Orchid cactus doesn’t fall behind its nearly 2,000 cactus relatives when it comes to beautiful blooms. It’s easily one of nature’s most beautiful cactus species, with its huge, stunning flowers that also captivate people’s noses.
In this beginner’s guide, we’ll navigate the essentials of growing orchid cacti to make sure you’ll enjoy their gorgeous flowers in spring. We’ll cover everything, from their soil requirements to the best propagation method.
Orchid Cactus General Information

Scientific Name: Epiphyllum
Genus: Epiphyllum
Family: Cactaceae
Plant Type: Epiphytic plants
Native Habitat: Central and South America
Preferred Environment: Warm and humid environment
Blooming Period: Spring to summer
Mature Size: 2 to 10 feet tall
Toxicity: Non-toxic for pets and people
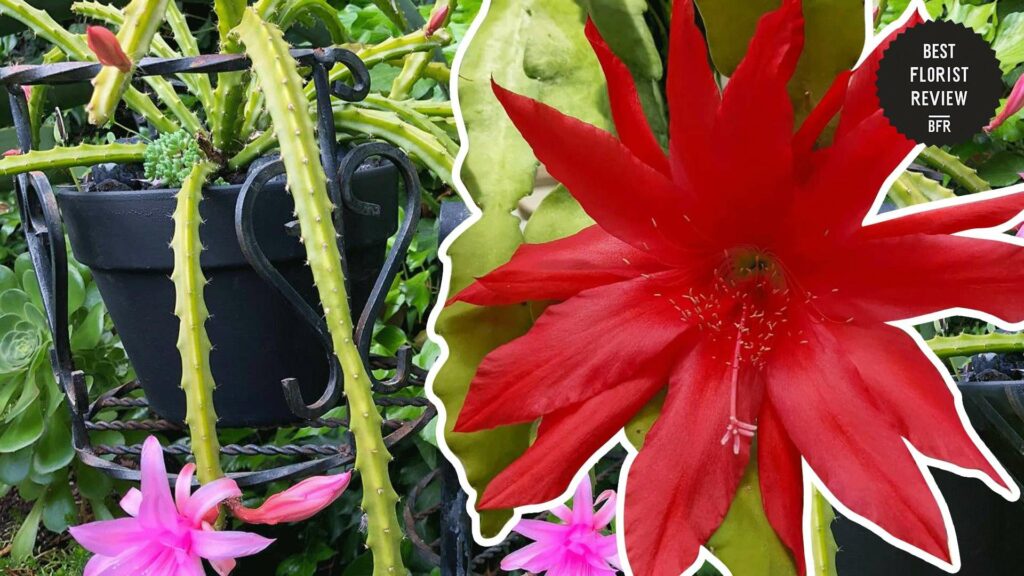
Epiphyllum, commonly known as orchid cactus, is a genus of epiphytic plants from the Cactaceae family. The species of this genus are native to the tropical forests of Central and South America, so they thrive in warm and humid environments.
Orchid cacti are loved for their large, beautiful, often fragrant flowers. They’re often grown in hanging baskets and containers, and are commonly used ornamental plants.
Some popular species of orchid cactus include, Epiphyllum oxypetalum or Night-blooming Cereus, Epiphyllum ‘Queen of the Night’, and Epiphyllum ‘Red Rubin’.
Taking Care of an Orchid Cactus
What soil is best for an orchid cactus?
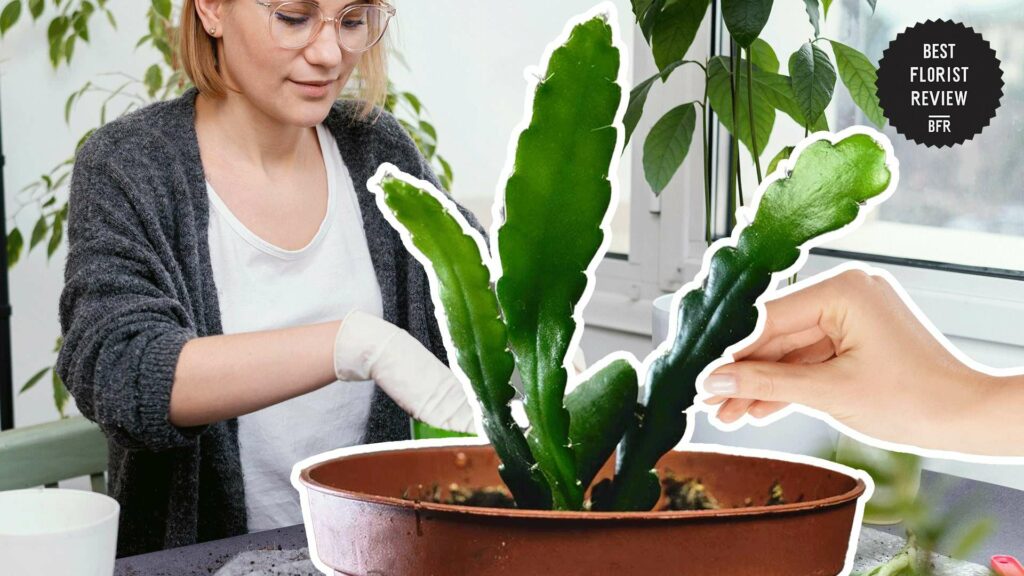

A well-draining, acidic soil mix that can retain sufficient moisture is best for an orchid cactus. A pH of 6.0 is typically ideal for them, as they can absorb nutrients and water efficiently when grown in soil with this pH.
Although they’re a type of cactus, we generally don’t recommend using pre-made orchid succulent and cactus soils. They tend to not have enough nutrients and don’t hold enough water to support orchid cacti’s growth.
How do I make my own soil mix for an orchid cactus?
To make your own soil mix for an orchid cactus, combine three parts of a regular house plant potting soil and one part of pumice or bark chips. You can also mix three parts of peat moss-based potting soil with one part of perlite.
Regular house plant potting soils and peat moss-based soils typically have enough nutrients and water-holding capacity to sustain an orchid cactus’ growth. Hence, they make a great base for your potting mix.
However, they typically don’t have enough drainage capacity to accommodate an orchid cactus’s needs, so you’ll have to add pumice, bark chips, or perlite. All three of these create air pockets in the soil where water can pass by and drain quickly.
When should I water my orchid cactus?
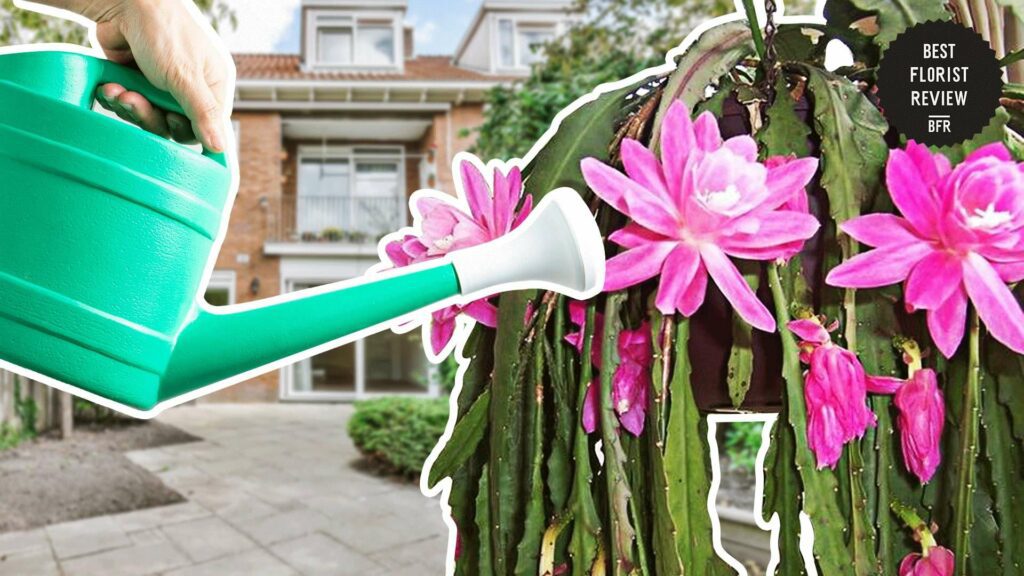

Like their cactus relatives, orchid cactus are extremely susceptible to overwatering. However, these cacti need more water than other cacti as they require regular watering during the growing season.
Water your orchid cactus when ⅓ of its soil mix is already dry, usually once every three to four weeks. Their watering needs will lower during the winter season, typically once every 5 to 6 weeks.
Use distilled or filtered water, as tap water typically contains high amounts of minerals and salt. If you only have access to tap water, fill a glass and let it sit for 24 hours before using it to water your orchid cactus.
Do orchid cacti require sun or shade?


Orchid cacti thrive in particularly bright, filtered light. They are adapted to the dappled light found under the canopy of trees in tropical forests where they’re native, so it’s best to replicate that when growing them at home.
Place them in an area that receives bright sunlight in the morning but is shaded during the afternoon. East-facing windows are typically the best since they receive direct sunlight in the morning and indirect sunlight in the afternoon.
South-facing and west-facing windows can also work, but make sure to put a screen or sheer curtain on the window to filter the direct sunlight hitting them.
What temperature is recommended for an orchid cactus?
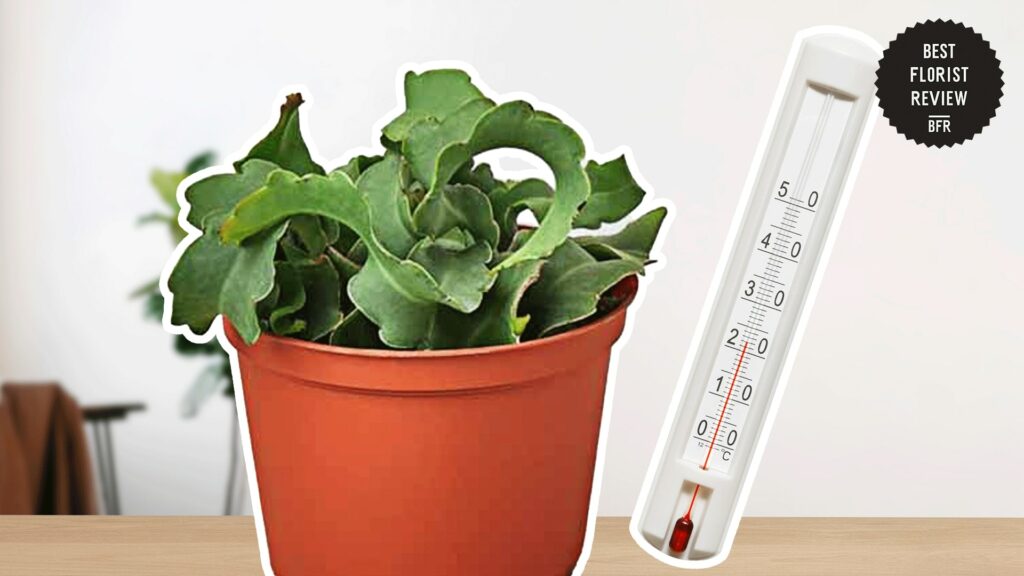

Orchid cacti typically do best in temperatures between 65°F and 75°F, though they can tolerate up to 90°F. During winter, they enter a period of dormancy and can tolerate cooler temperatures of around 50°F to 58°F.
If you’re growing them outdoors, make sure to bring them inside and away from the windows during winter, as they can’t survive freezing conditions. They can die if the temperature drops below 32 °F.
Even if you want to keep the plants warm, don’t put them near radiators. The area near radiators tends to be dry, which isn’t pleasant for orchid cacti, who love warm but humid environments.
What humidity level is recommended for an orchid cactus?


High humidity levels are recommended for orchid cactus since it’s native to tropical forests. Humidity levels ranging from 40% to 60% are ideal, as they mimic the conditions found in its native habitat.
In dry climates or during winter, when indoor heating tends to reduce humidity, you can place a tray filled with water and pebbles near your orchid cactus to increase the humidity around it. Using a humidifier can also greatly help maintain high humidity.
Monitor the humidity level, as excessive humidity can lead to issues such as fungal diseases and mold growth.
How often should I fertilize my orchid cactus?
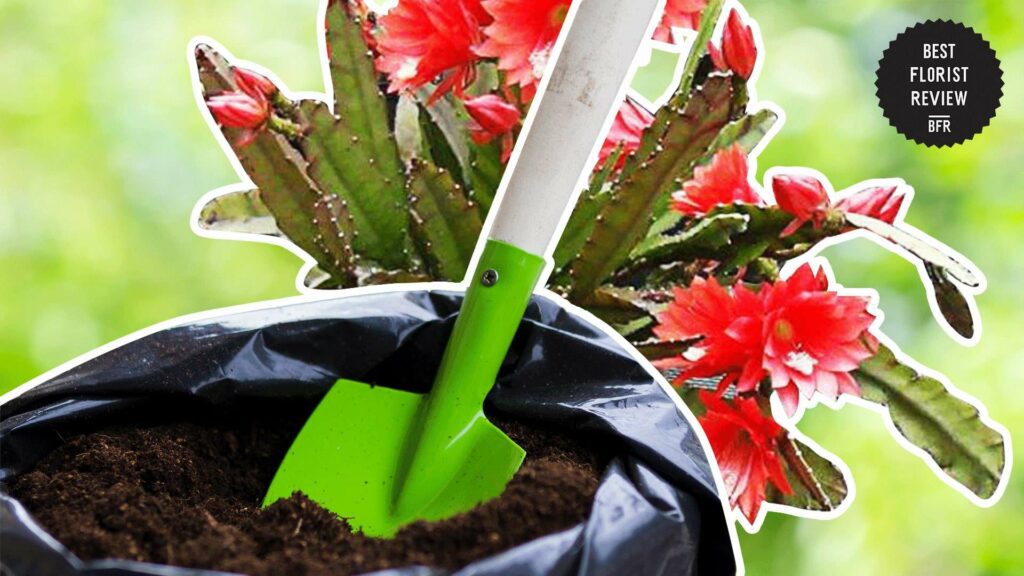

Fertilize your orchid cactus once every two weeks from spring through fall using a 10-10-10 slow-release or liquid fertilizer. Apply a 2-10-10 fertilizer towards the end of winter and the beginning of spring to encourage them to bloom.
Make sure not to use fertilizer that has a nitrogen content of more than 10%. Too much nitrogen can stimulate excessive leaf growth at the expense of flowering, so you may not get the cactus’ beautiful flowers.
Orchid cacti go through a period of dormancy during winter, so it’s best to lessen the frequency or stop giving them fertilizer during this period.
When should I prune my orchid cactus?


Prune your orchid cactus after it has finished blooming. These are slow-growing plants, so they only need pruning when they’ve become too large or unruly for their space, typically every one to two years.
Although pruning can be beneficial for the plant and stimulate new growth, avoid removing too much of the plant at once. Doing so can stress the orchid cactus and cause yellowing stems or stunted growth.
When should I repot my orchid cactus?


Repot your orchid cactus when the roots have become extremely root-bound, the potting mix has become depleted, or the soil is infested with harmful bacteria and fungi.
We typically repot our orchid cactus every 3 years. However, some orchid cacti can last in the same pot for 7 years, so observe your plant to find what would work best for it.
Orchid cacti like to be relatively root-bound, so only repot it if there are already way too many roots growing out of the drainage holes. It’s also best to wait a month after the plant has bloomed before repotting it.
How do I repot my orchid cactus?
Step 1: Prepare a new pot
Select a pot that’s about one size bigger than the current pot. Don’t choose a pot that’s too big because orchid cactus likes to be root-bound.
Step 2: Prepare a new potting mix
Buy or make a new soil mix for your orchid cactus. To minimize transplant shock, it’s better to use a soil mix similar to the one you previously used.
Step 3: Remove the orchid cactus from its pot
The plant is already likely root-bound by the time you report it, so it can be quite hard to take it out of its pot. Tap the sides of the pot or squeeze it if it’s plastic to loosen up the soil and make it easier for you to pull the plant out.
You can also water the plant a day before repotting to make removing it easier.
Step 4: Shake excess soil
Gently shake off some excess soil from the roots. Don’t remove all the soil, and keep the root ball intact to avoid causing a lot of disturbance on the roots.
Step 5: Add a layer of the new potting mix to the pot
Add a layer of potting mix to the pot before placing the plant to prevent the roots from touching the drainage holes. The layer should be around the same height as the layer you placed on the old pot.
Step 6: Plant the orchid cactus in the new pot
Place the orchid cactus in the center of the new pot and fill the sides with more potting mix. To settle the plant and stop it from moving around, gently press down on the soil around it.
Wait at least a week after repotting before watering the plant again to give it time to adjust to its new home.
How to Successfully Propagate an Orchid Cactus


Step 1: Select a healthy stem and cut a portion of it
Choose a healthy stem for cutting. The stem should be over 9 inches tall so propagation can have a better chance of succeeding.
Cut as many stems as you can since some stem cuttings may not form roots.
Step 2: Cut a portion of the stem
Cut stems about 9 to 12 inches tall using a clean pair of scissors or pruning shears. Shorter stem cuttings may take longer to form roots and bloom, so it’s better to cut as long as possible.
Step 3: Allow the stems to form a callus
Leave the cut stem in a dry, shaded area for about a week or two to allow the cut part to dry and form a callus. Doing this can help prevent the stem from rotting once you plant it.
Step 4: Fill a pot with new potting mix
Select a small pot with drainage for your cuttings and fill it with a well-draining potting mix. You can use the same recipe that we mentioned in this guide.
Step 5: Plant the stem into the pot
Insert the cut end of each stem into the soil, burying it about an inch or two deep. You can plant multiple cuttings in the same pot as long as they are about half an inch away from each other.
Gently press the soil around the cutting to provide support since they can fall over if they’re not planted firmly into the potting mix.
Step 6: Water the plant
Water the cuttings lightly after planting. Keep the soil evenly moist but not waterlogged while waiting for the cuttings to grow roots.
Step 7: Place the pot into a warm, shaded area
Place the pot in a warm, shaded, or partially shaded area that receives indirect light for about six hours a day. Avoid direct sunlight as it can be too hot and intense for the cuttings.
The cuttings will start to form roots in about one to six months.
Common Problems with Orchid Cacti
Failure to Flower
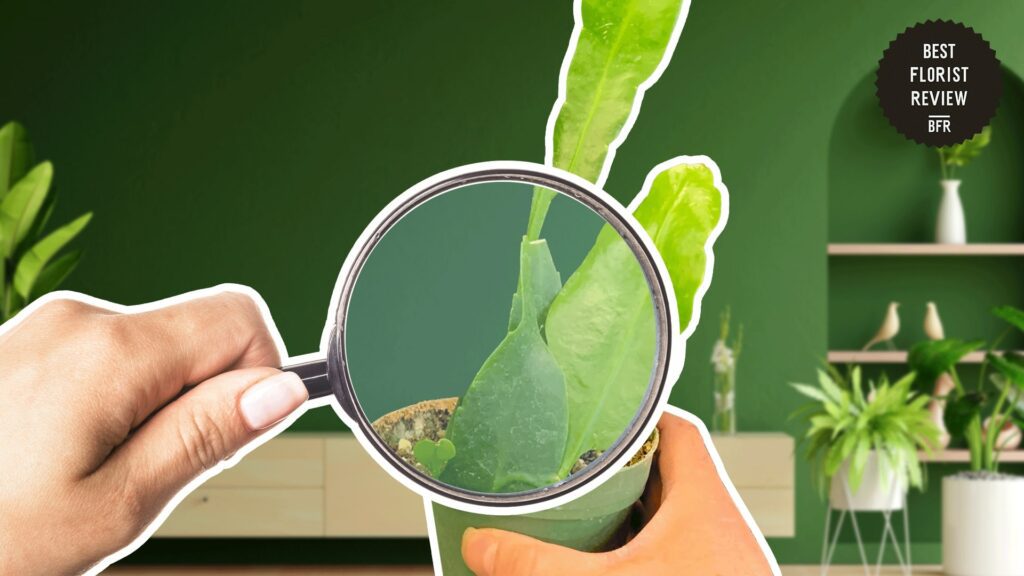

Orchid cacti are prized for their large, showy flowers. However, you may not be able to enjoy these beautiful and fragrant flowers if you don’t provide the plant with proper care.
Orchid cacti need adequate nutrients, especially phosphorus, to support flowering. If there’s more nitrogen in the soil than phosphorus, the plant may focus on growing leaves and sacrifice flowering.
That said, there are instances when the plant’s failure to bloom is just because of the plant’s age and not because of improper care. Orchid cacti typically take years before they start blooming, so just be patient and wait for it to mature.
How to Fix Failure to Flower
If the plant fails to flower after two to three years, you’re probably using the wrong fertilizer or not fertilizing the plant enough. If that’s the case, the best course of action is to adjust your fertilizing routine.
Use a fertilizer that doesn’t contain more than a 10% nitrogen ratio. Look for slow-release or water-soluble fertilizers with a 2-10-10 NPK ratio and apply that to the plant once spring starts to encourage it to flower.
It can also help the cactus bloom if you provide the appropriate care it needs, such as the right lighting conditions, proper watering routines, and suitable temperature.
Yellow Stems
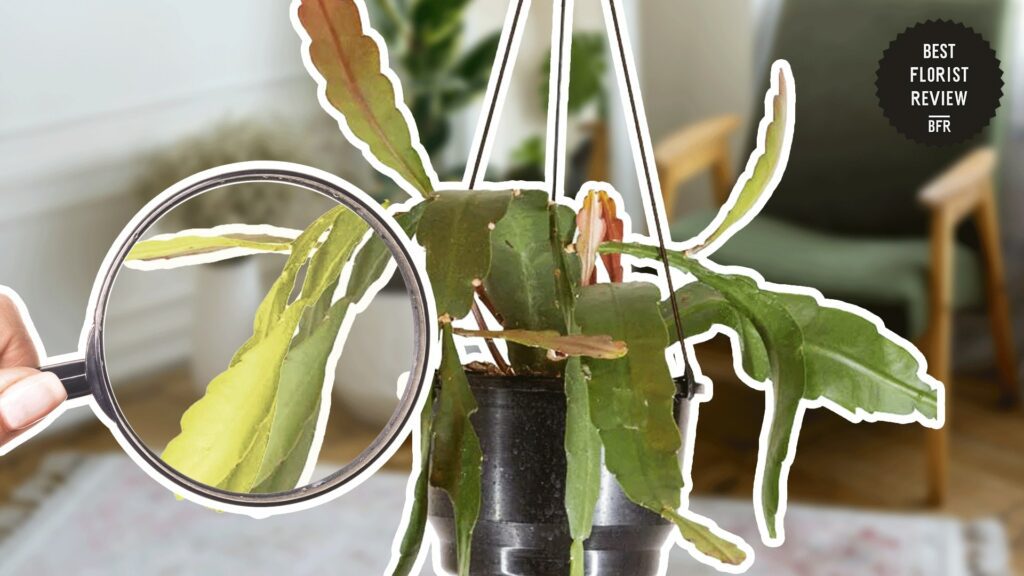

Yellow stems on an orchid cactus can be an indication that your plant is suffering from root rot caused by overwatering or poor soil drainage.
Although they need more watering than other types of cactus, orchid cacti are still relatively sensitive to root rot. Exposure to waterlogged conditions for a long time can damage the roots, impairing their ability to uptake nutrients and water.
If the plant cannot absorb nutrients and water, it will have to sacrifice some of its stems to prioritize new ones. Older stems will turn yellow before they go limp as the plant tries to save its new stems.
How to Fix Yellow Stems
To fix yellow stems, first, check the condition of your orchid cactus’ soil mix to make sure that it’s not heavily compacted yet. Compacted soil typically has poor drainage since the water has no space to flow and drain.
Repot the plant if the soil’s already too compact. Add more perlite, bark chip, or pumice than what you added to your previous mix to be able to use the soil longer.
If the soil is still in good condition, your watering routines might be the problem. Reduce your watering frequency and wait until about 75% of the soil is dry before you water it again.
Brown Spots
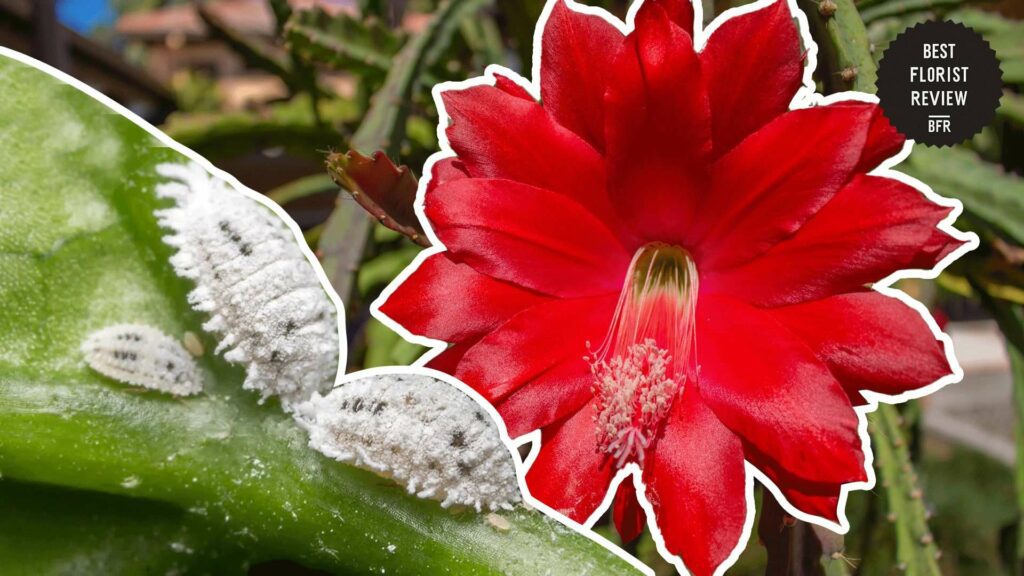

Another common orchid cactus issue is the sudden appearance of brown spots on the stems. Although this can be caused by various factors, it’s most commonly used by sunburn and pest infestation.
The stems of orchid cacti are sensitive to direct light. Exposure to such lighting conditions for a long time can scorch the leaves and cause brown spots.
Additionally, pests like mealybugs and aphids feed on the plant’s stems by piercing the leaves with their mouth, causing damage to the stems. As they continue to feed on the sap, the stem’s cells will be damaged, causing brown spots.
How to Fix Brown Spots
To fix brown spots, move your orchid cactus somewhere with filtered or indirect light if it’s placed in a location that receives too much direct light.
Provide shade for the plant if you’re growing it outside, or hang it under a tree if possible.
Check for any sign of pest infestation, like small, oval-shaped insects or a white, cottony substance on the stems. If you notice some pests, immediately remove them using a cotton swab dipped in rubbing alcohol.
For heavy pest infestation, you’ll need to apply neem oil on the plant several times before getting rid of all the pests.


